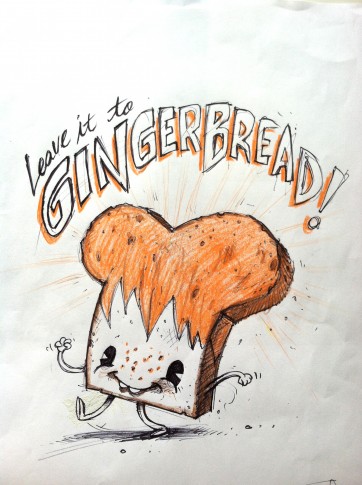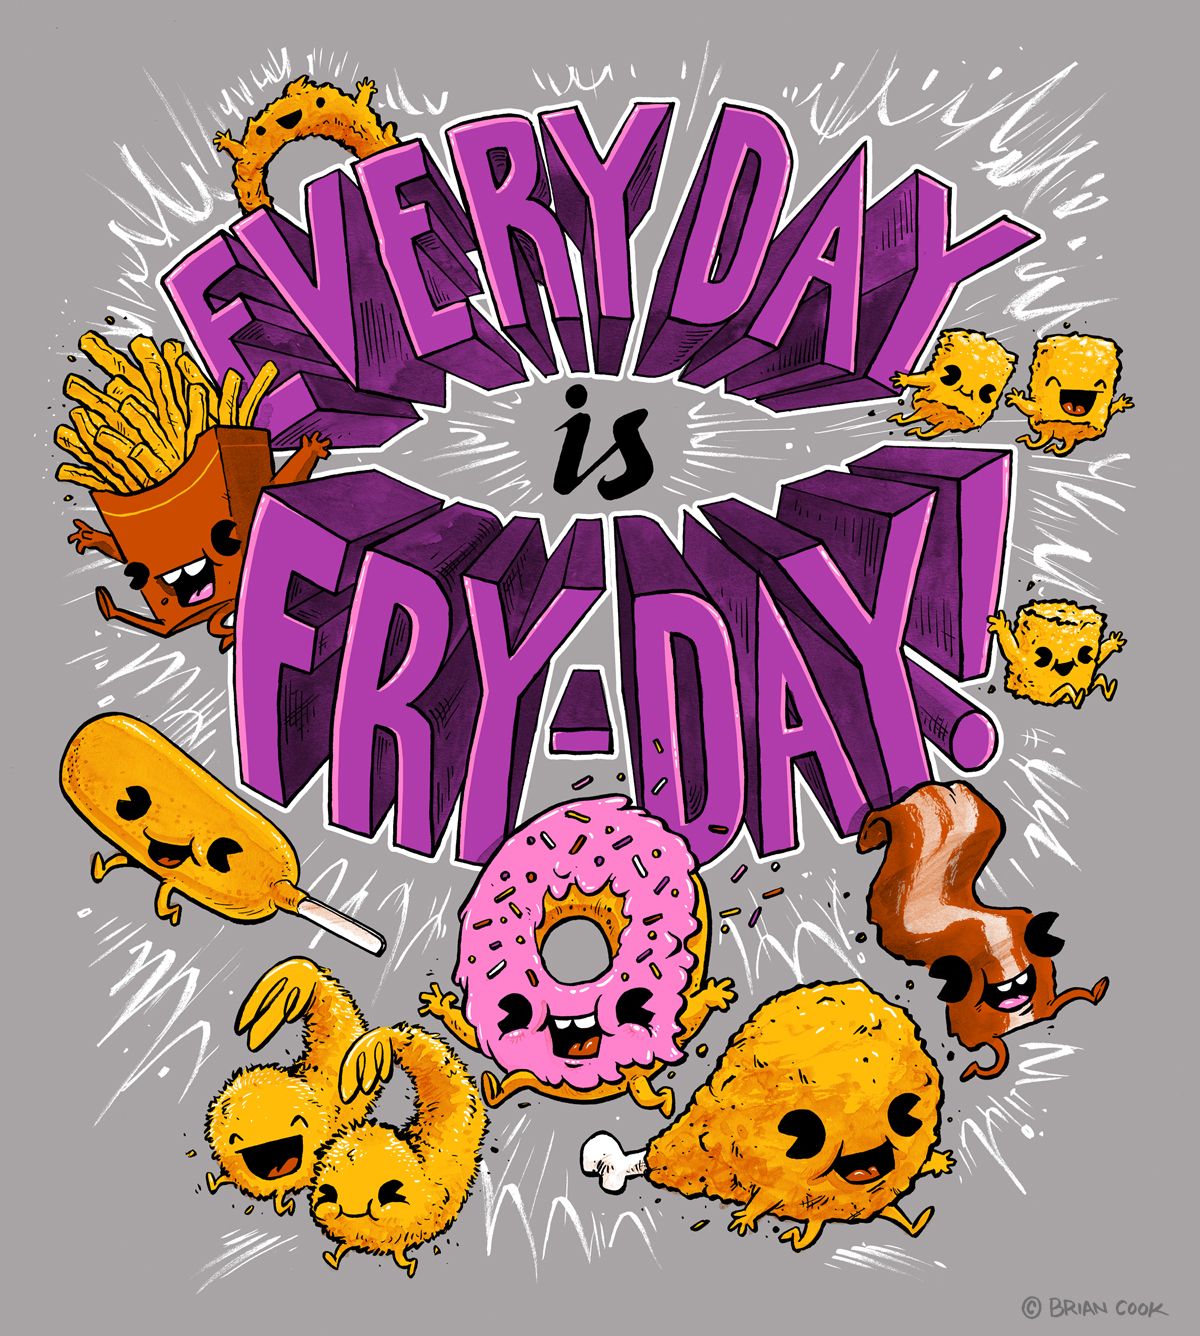
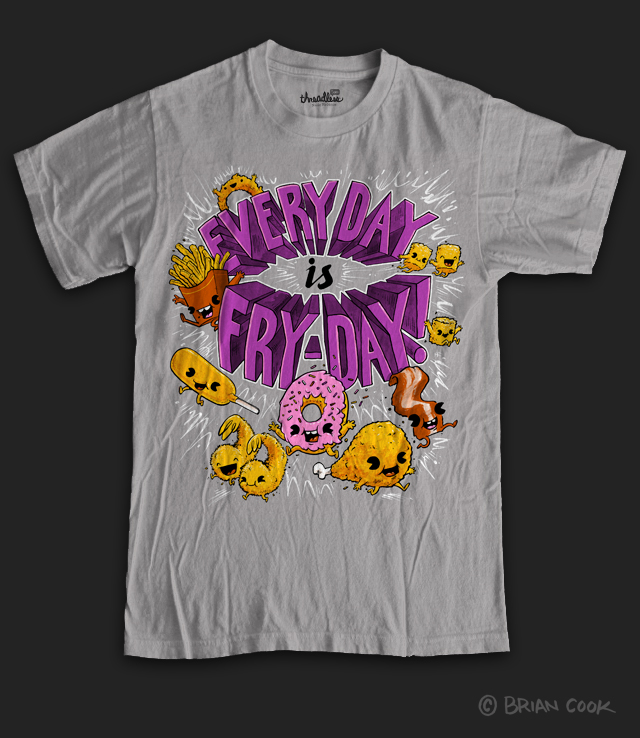
 Today I am launching my latest t-shirt design on Threadless!
MAKING OF!
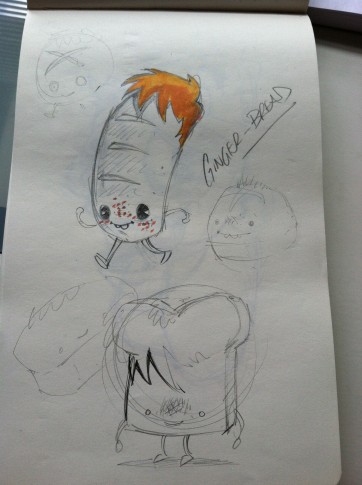
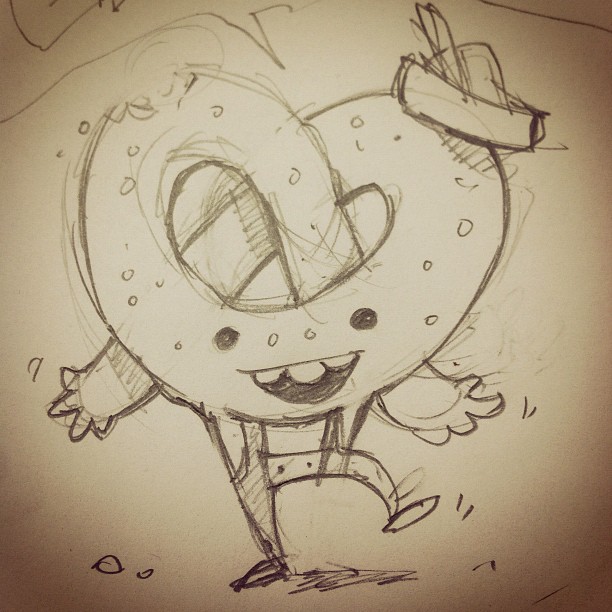
 This design all started out with a doodle in my sketchbook.
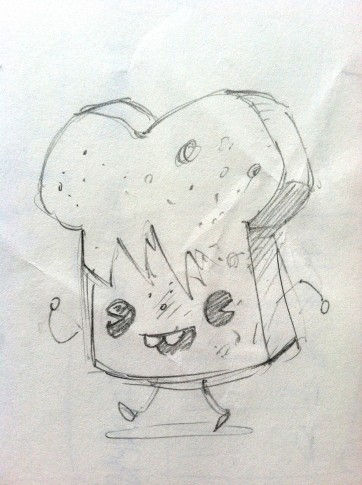
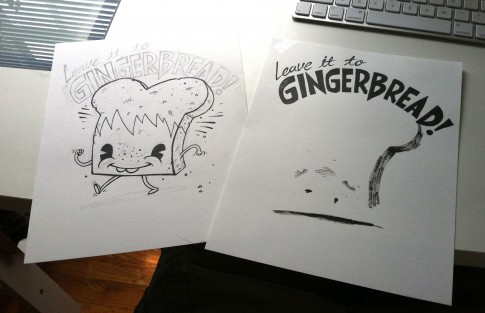
 I took that idea and did a larger rough sketch for the full design.
 Looking at that rough sketch I did a much larger and refined version.


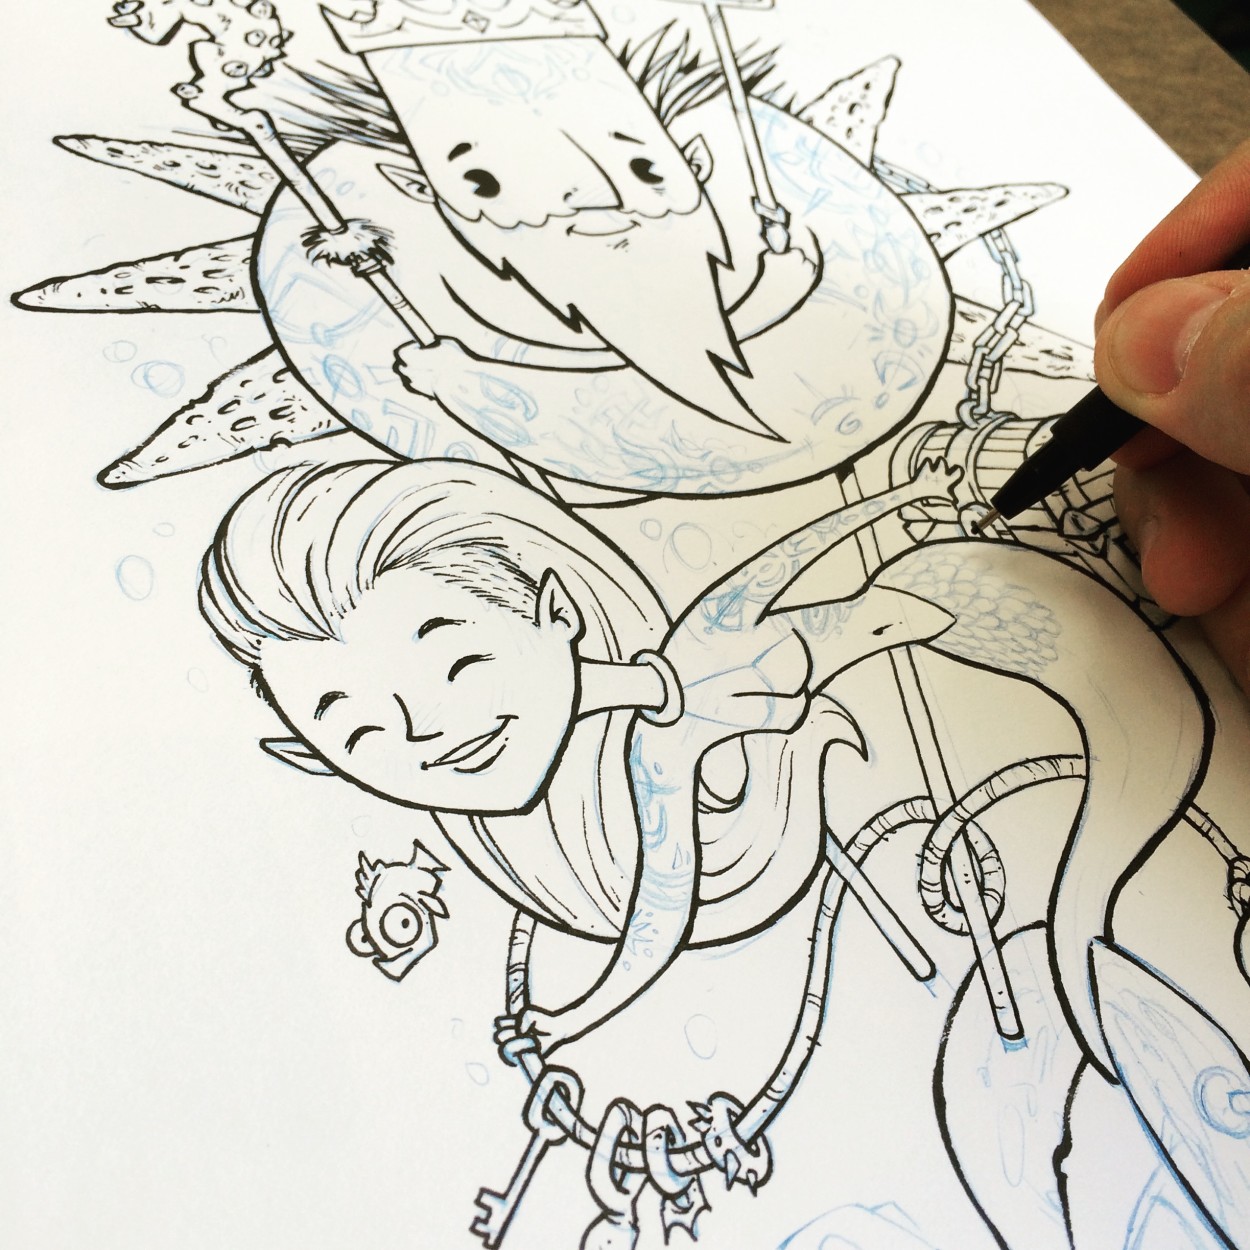
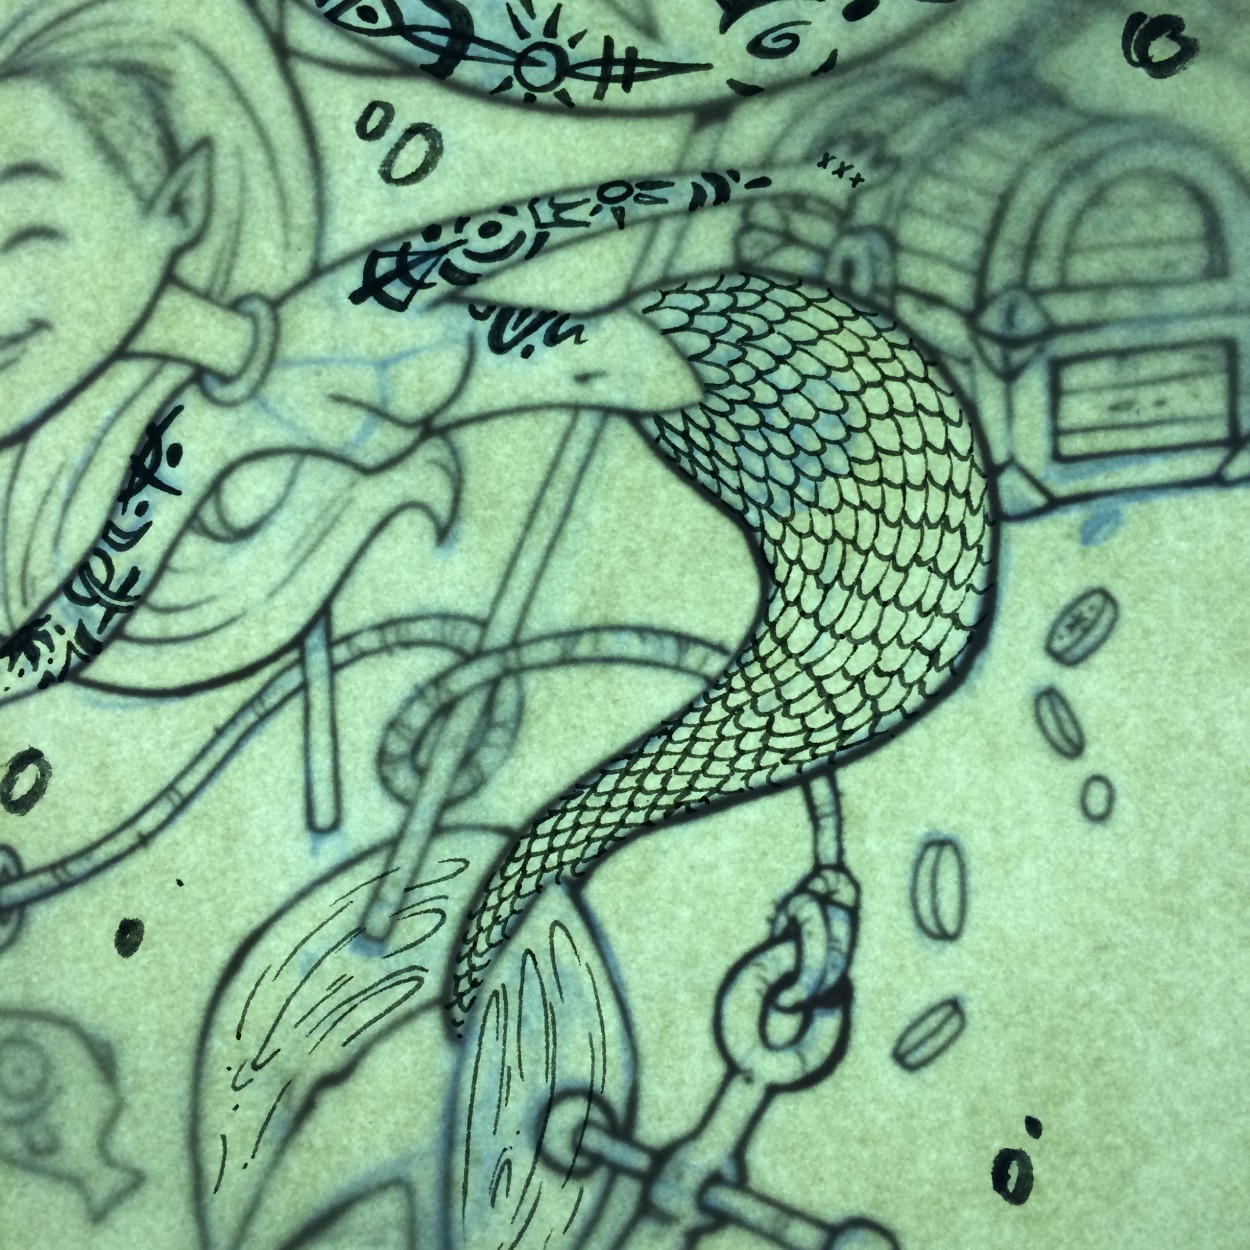
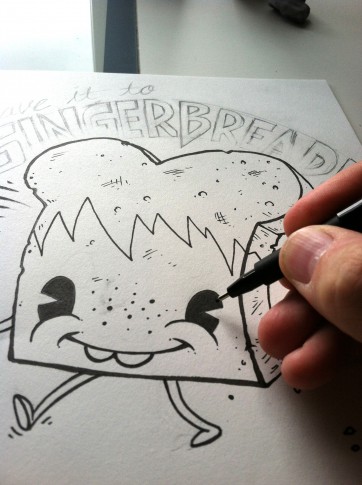
After the refined version was finished I moved on to the inking step. I use a lightbox and a ton of different ink pens and brushes.


 I ink the text on a separate layer for ease of assembly in Photoshop.
 After the inking I did yet ANOTHER layer on the lightbox using watercolor to add the tones in.
 Buy the end I had a bajillion pages and layers to scan, adjust and compile in Photoshop.
 But it’s all worth it in the end! Hope you guys like it!
Supplies!
(cause some of you asked!)
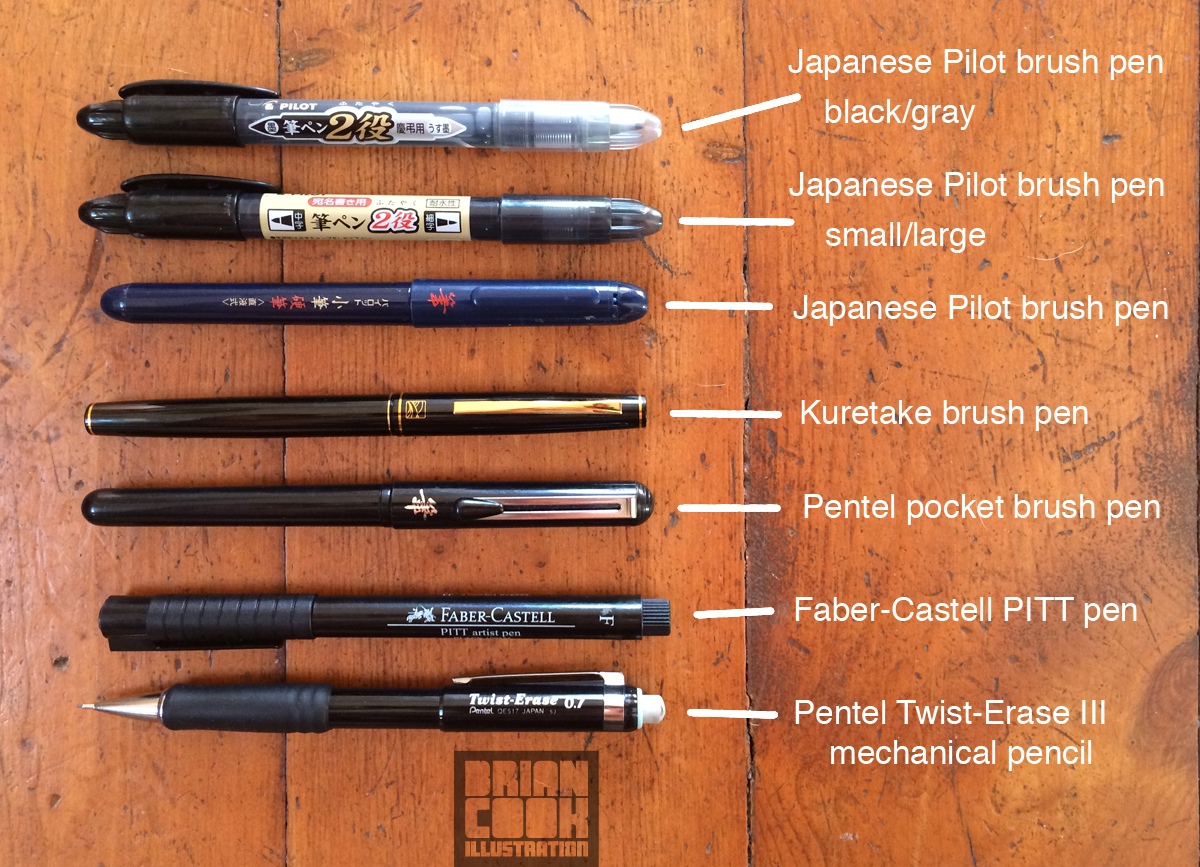
These are my basic inking supplies.
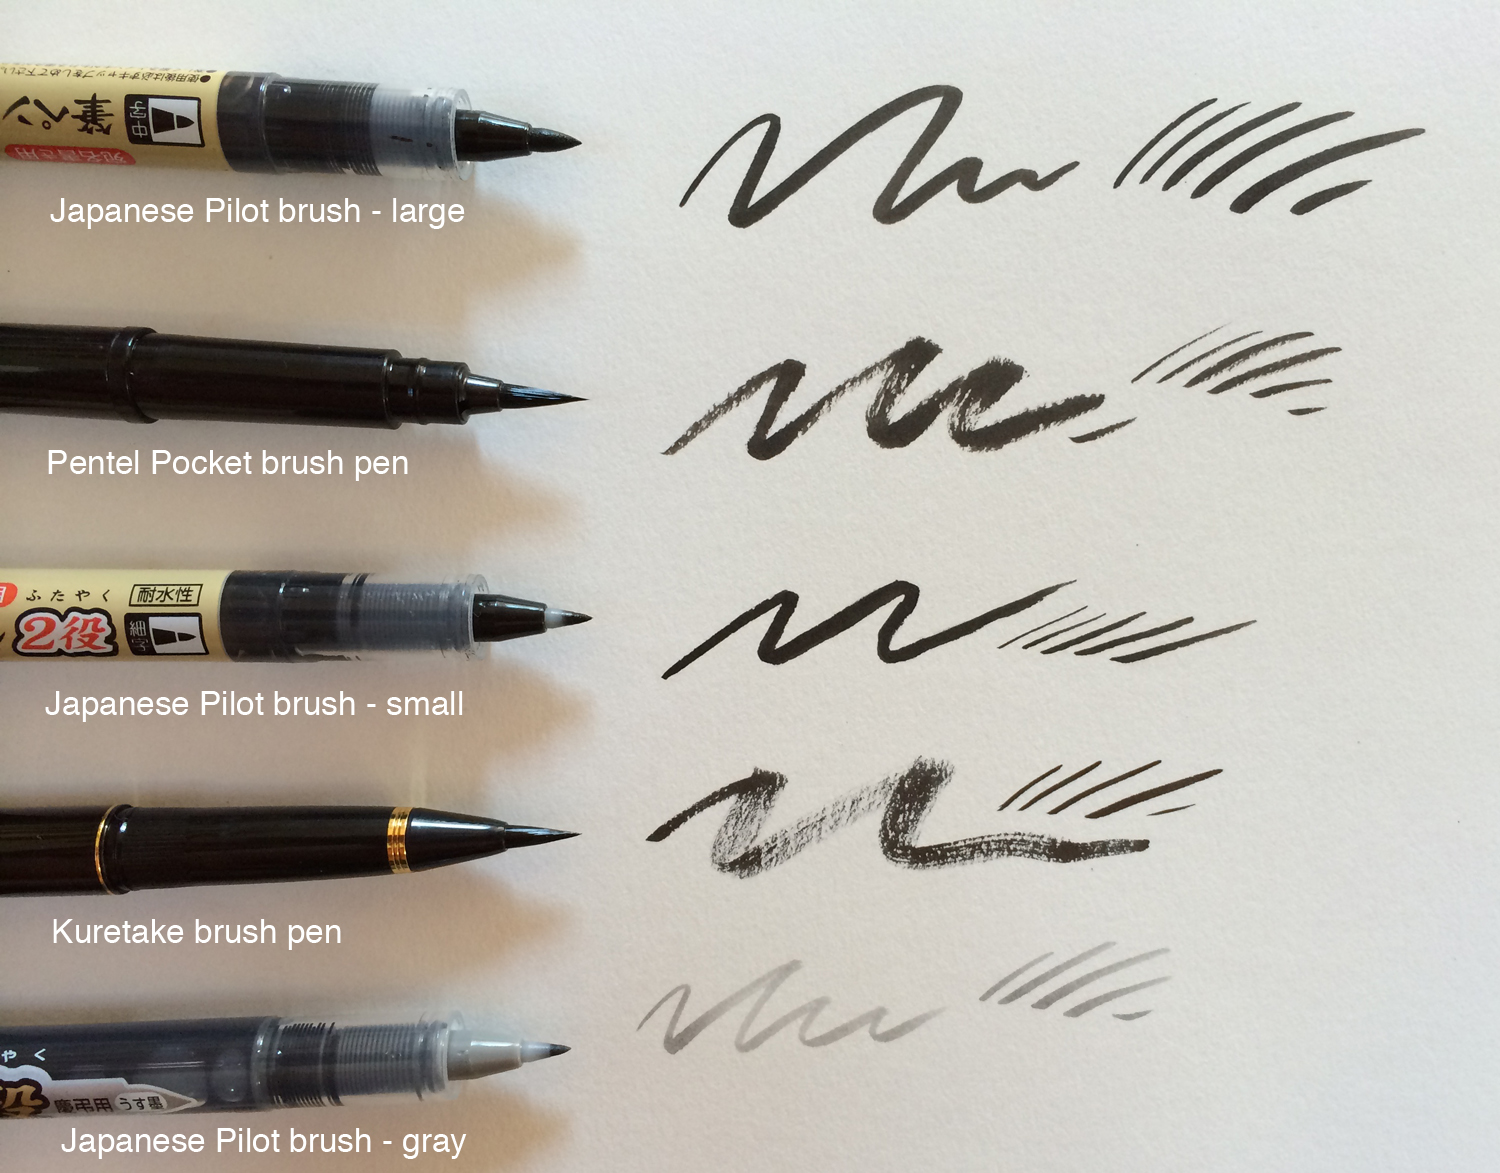
Pilot pens – The top three Pilot pens are some of my favorite brush pens EVER. They are kinda hard to find, although I think that Jet pens stocks them now. They are just writing pens in Japan and are not very expensive, but the ink is really nice and dark and the brush tip is smaller than any of the felt tip brush pens I’ve tried…and I’ve tried a TON. The small tips are all the same, one pen has a larger tip on an end, and one has a small gray ink tip – which is kinda fun to play around with.
Kuretake – this brush pen is a little more expensive – but one of the pens that has synthetic hairs kinda like a real brush and then you get refill ink cartridges for it. It has the best control and can do rough AND thin (see example below).
Pentel Pocket brush pen – a much cheaper and more common alternative to the Kuretake. It has synthetic hairs, and refill cartridges, and is carried by most art supply stores. I actually kinda prefer the rough brush marks…but doesn’t have NEARLY the thin control that the Kuretake pen does. However, at less than half the price it can do almost the same thing.
Faber-Castell Artist PITT pens – By FAR the best inking pens out on the market. With pure waterproof india ink the ink quality and tips are FAR superior to the Microns, Copic, and other fine inking pens out there, and not any more expensive. They come in a variety of sizes. I have all of them handy anywhere I go. But be warned – their brush tip is GARBAGE!
Pentel Twist-Erase mechanical pencil – a great mechanical pencil that comes with an eraser that twists out and refills. The eraser is the downfall to most mechanical pencils in my opinion – these ones are great, and I ALWAYS have one.
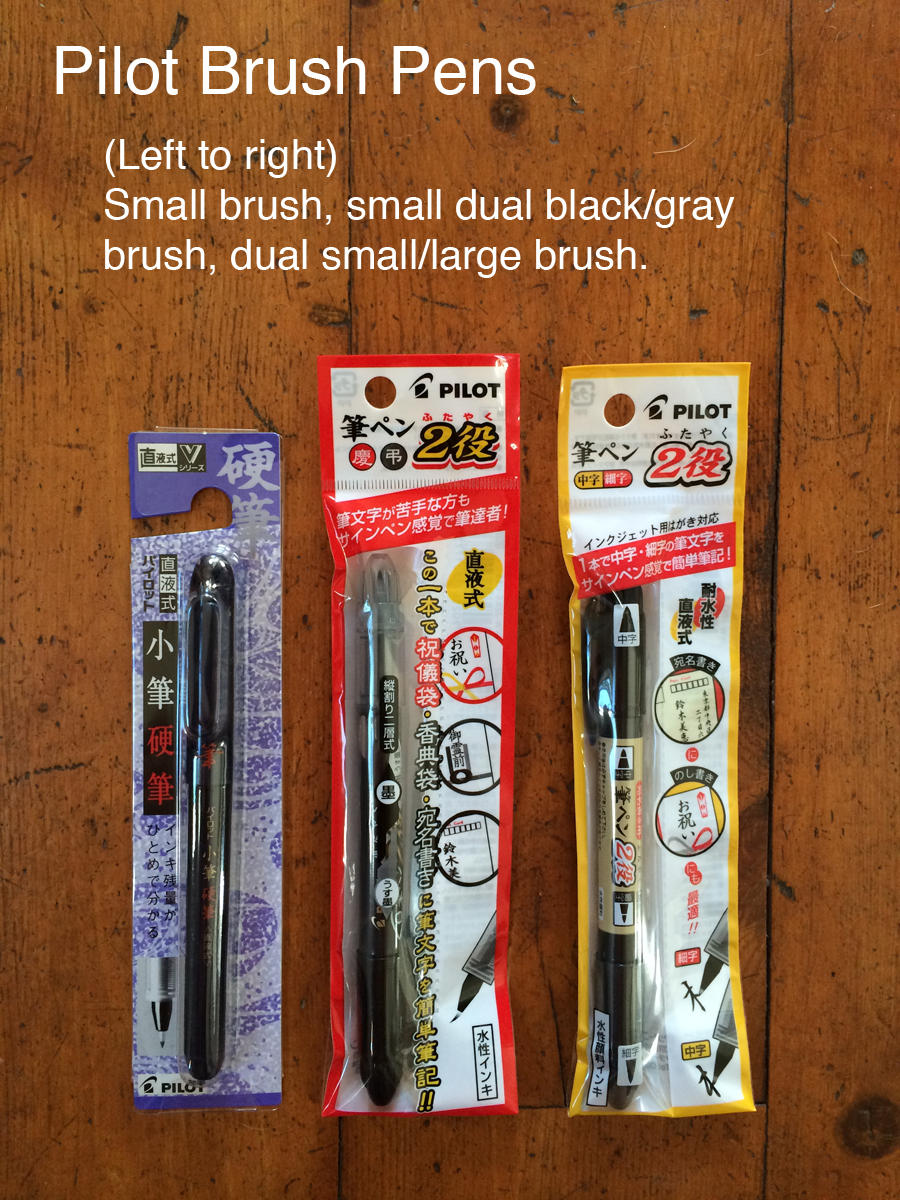
Here is the packaging for the Pilot pens in case you’re on the hunt for them 😀

Here’s my studio setup – I built my light-box into my drawing table – but you can get tons of great separate light-boxes out there. Almost any of them will work – but pay attention the the surface – I like it to be as flat as possible in case my paper is larger then the surface of the light-box.
Any other questions I’d be happy to help!!!
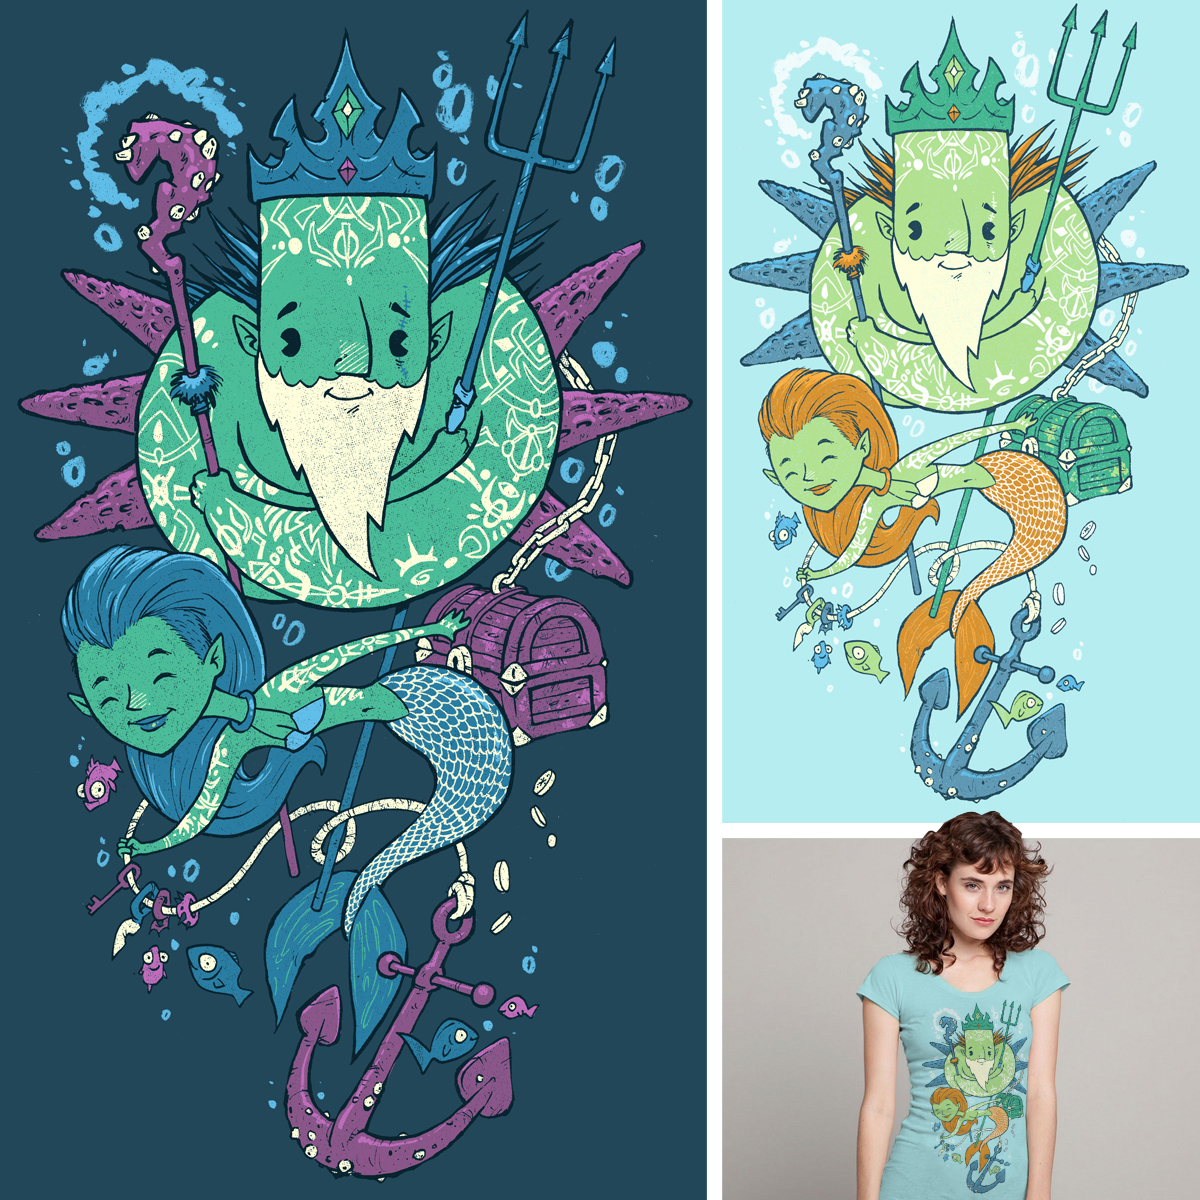 I have a BRAND NEW t-shirt design up for voting on Threadless! It is part of their “Nautical” competition. My plan is for it to come in two color schemes – “Deep ocean” for guys and “Oceanside” for girls! I could really use your help in voting for it in the competition!
 Step 1: my rough sketch.
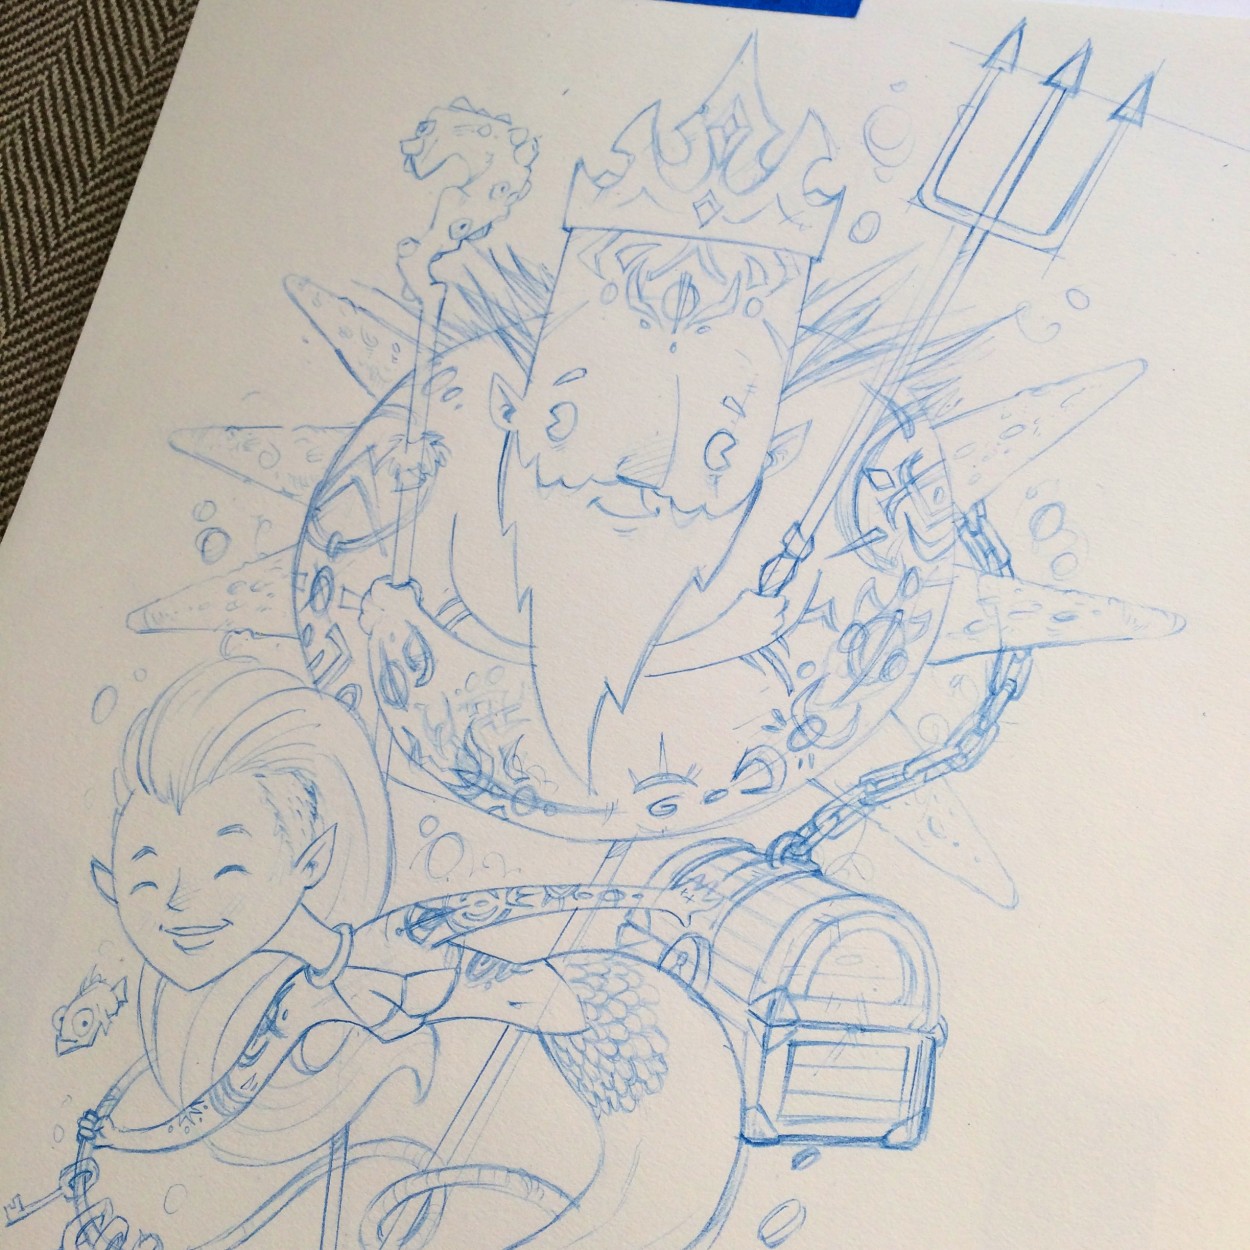 Step 2. I scanned in my rough, enlarged it and then drew it in detail with blueline pencil.
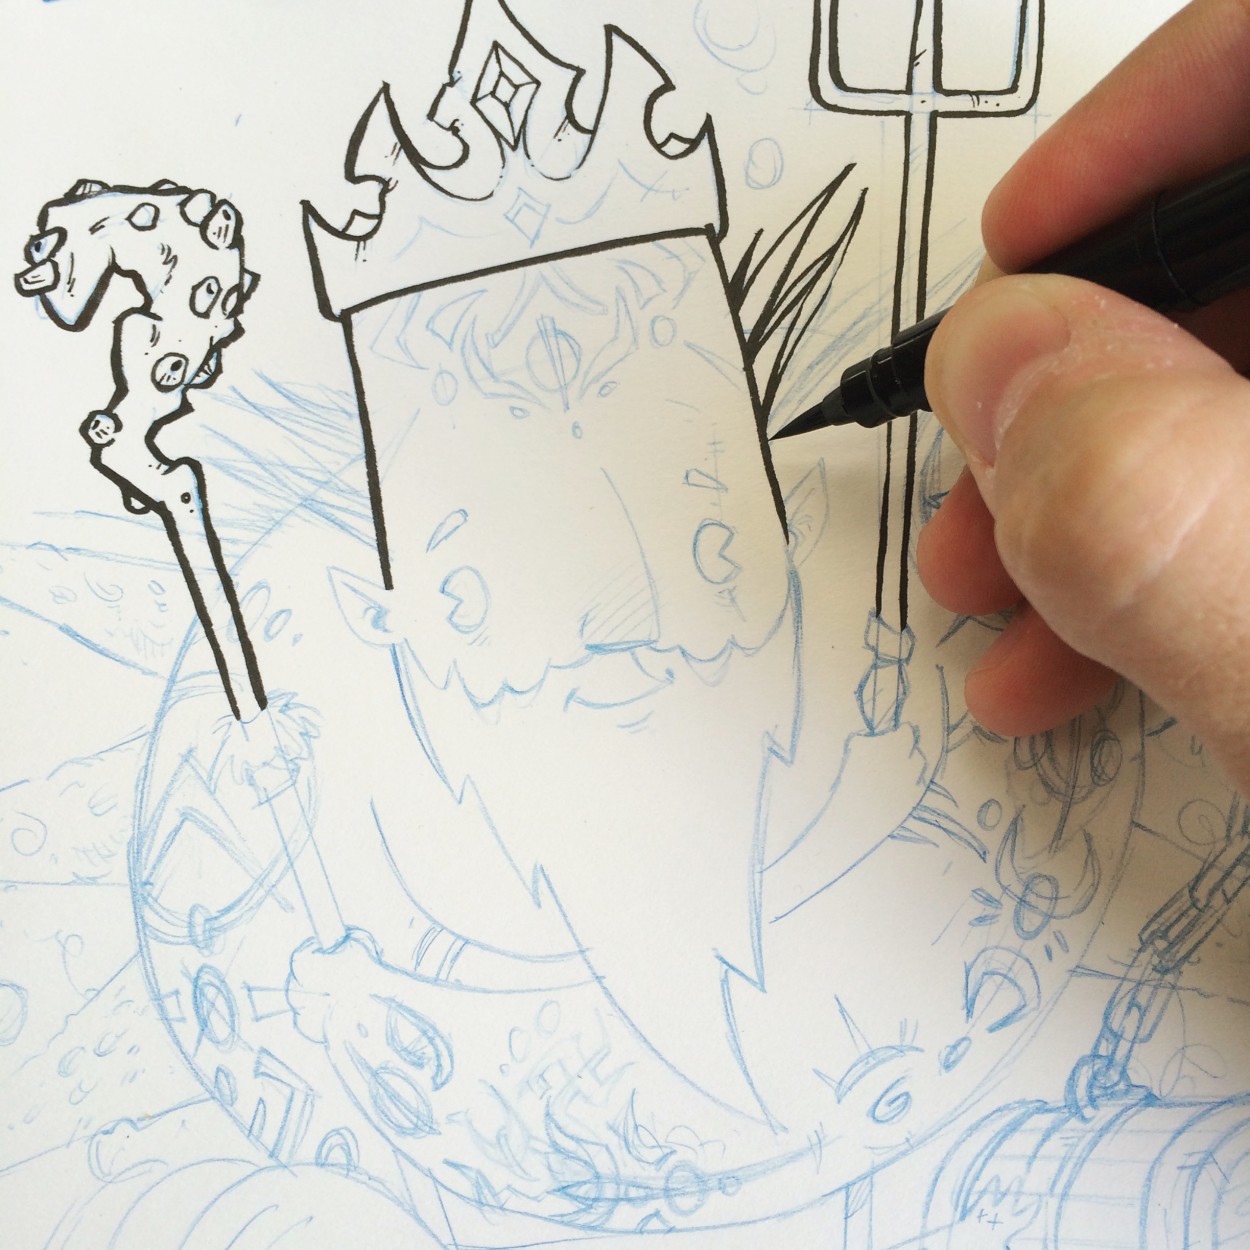 Step 3: inking! I used my trusty Pentel Pocketbrush and Faber Castell Artist Pitt Pens!
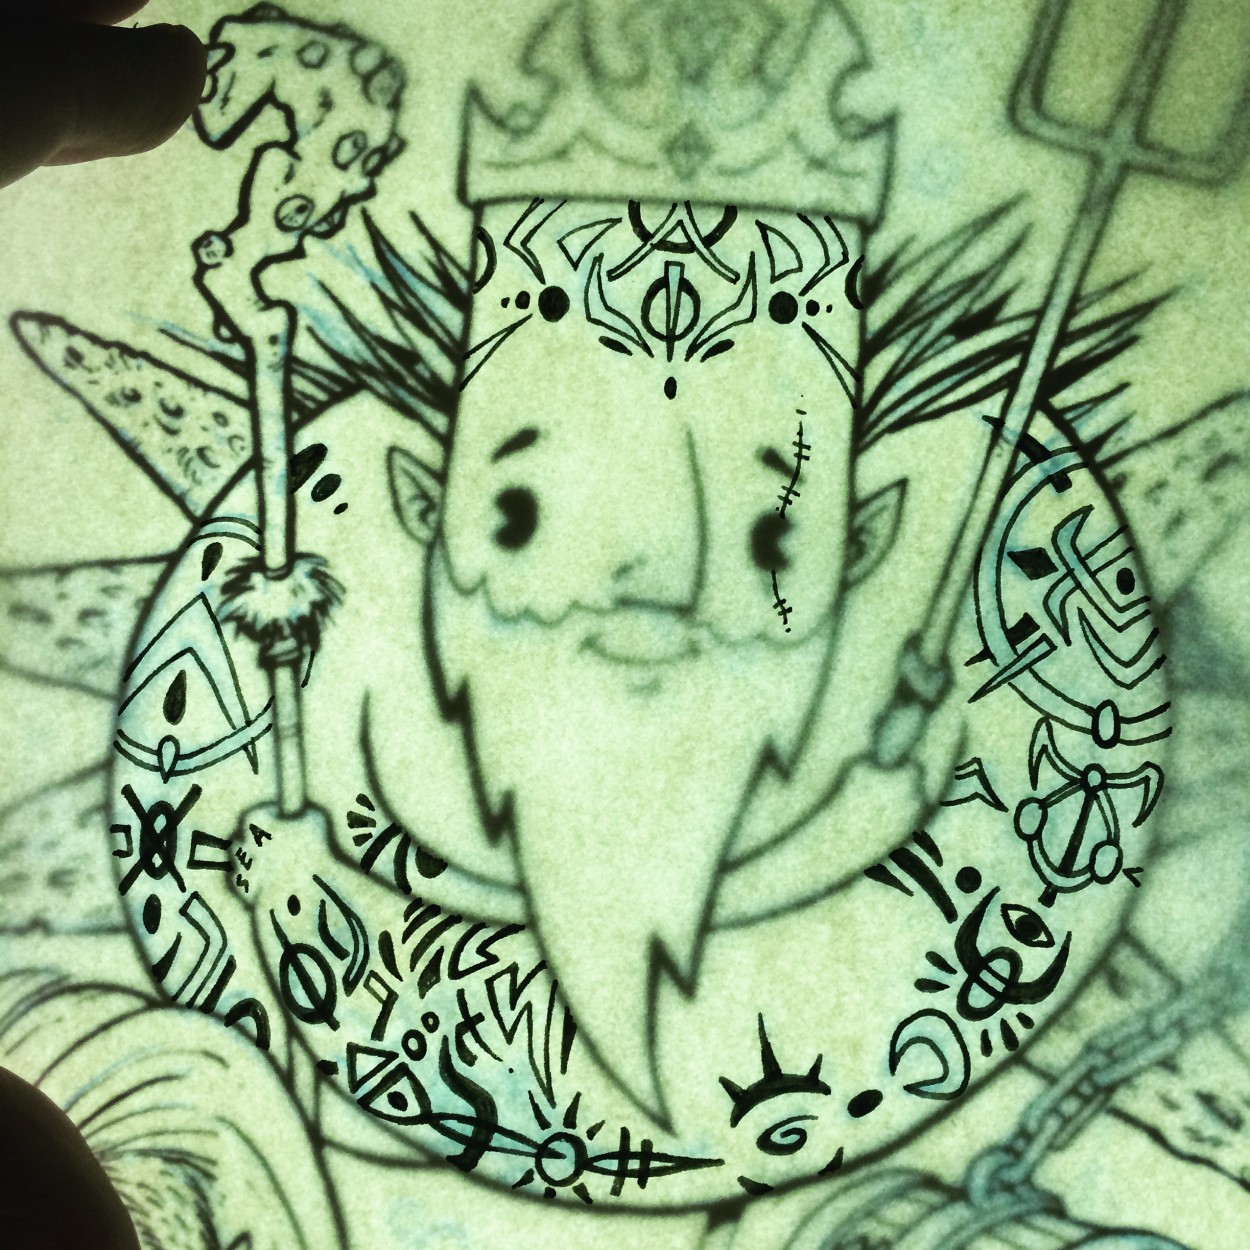 Step 4: I used my lightbox to draw tattoos on a separate layer in ink.
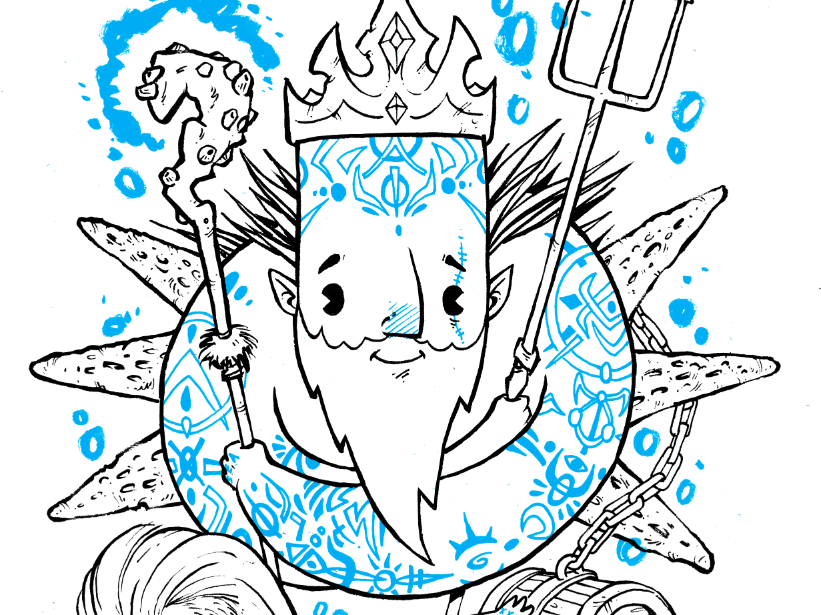 Step 5: next I scanned in the separate layers and arranged them in Photoshop.
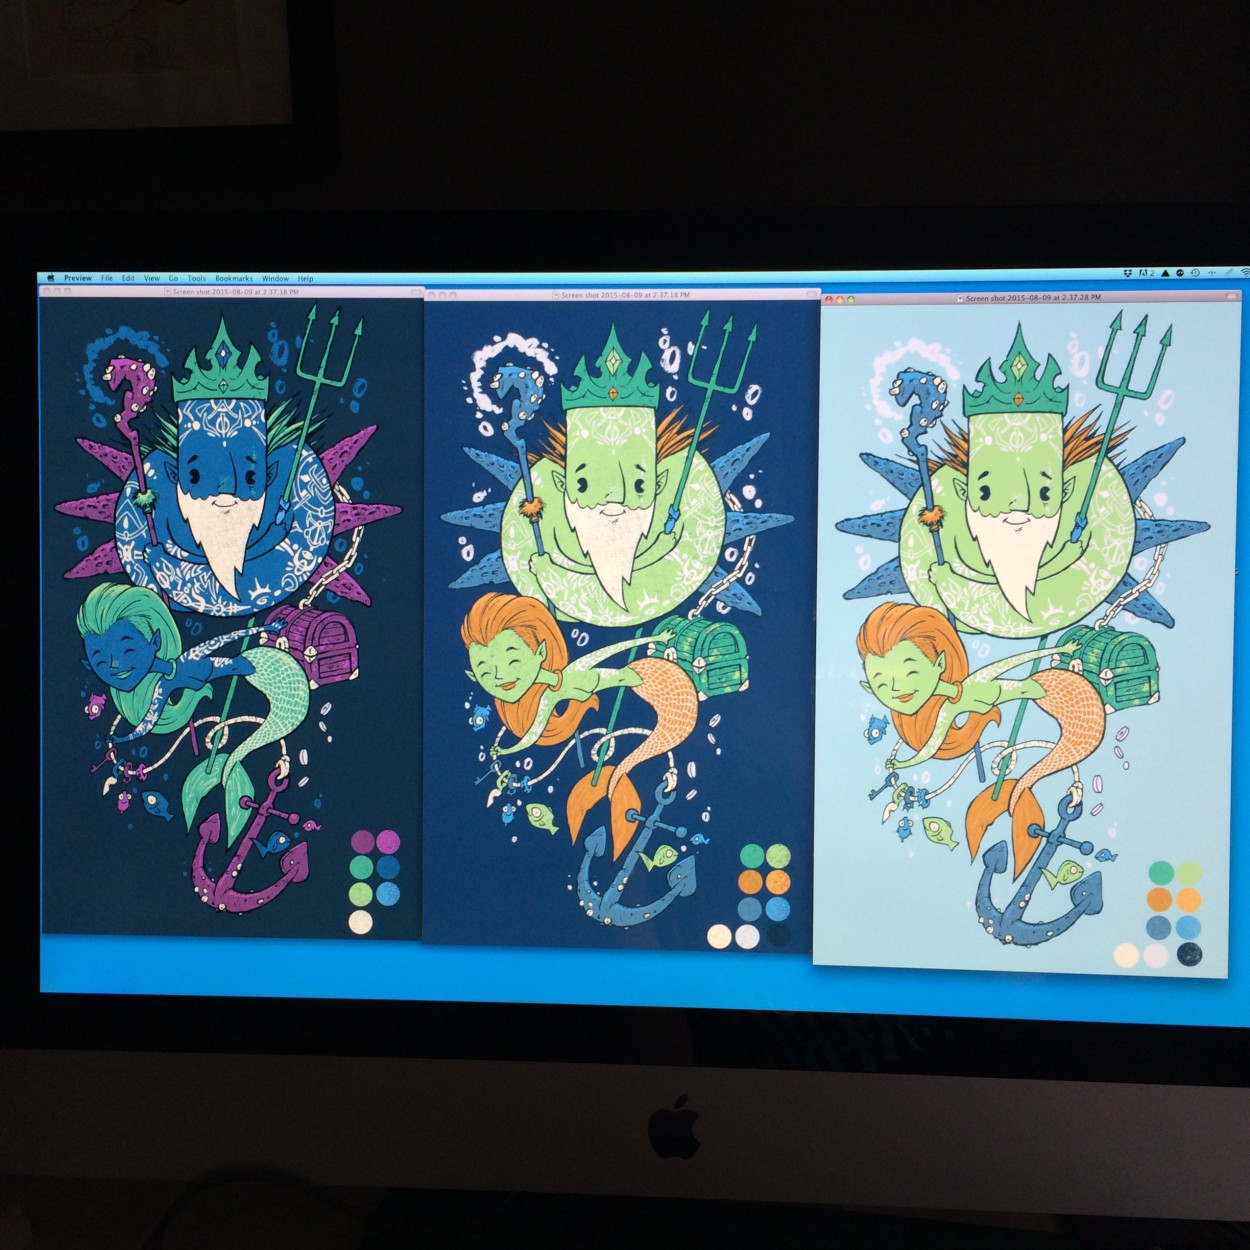 Step 6: I had worked on what I thought were the best color schemes for a while – sometimes this is the toughest part – there’s SOOOOO many options!
 Step 7: TIME TO VOTE!!!
